A few days back, a company I was hiring a generator asked me to issue to them an e-Receipt. I was told how the entire e-Invoicing and e-Receipt process as possible for as long as I had an active URA TIN Number. Off I pointed my web browser onto the web portal and opened the EFRIS page.
This being my first time to access the service, I didn’t know what to do and what I needed not until after watching a number of Kakasa videos. If you are new to EFRIS and wondering how to get started, this tutorial helps you right from registering an account, adding stock, managing your fiscal documents, restocking, creating e-invoices, and issuing of e-Receipts.
What is EFRIS?
In short, the above stands for Electronic fiscal receipting and invoicing solutions. EFRIS facilitates the “use of Electronic Fiscal Devices (EFDs), e-Invoicing, or direct communication with business transaction systems to manage the issuance of e-receipts and e-invoices in accordance with the Tax Procedures Code Act 2014.
Using the above allows easy transmission of the initiated transaction details to URA in real-time. If you are a taxpayer interested in getting all of your tax refunds, this service is a must use. On the other hand, with this, URA expects to reduce the number of tax cheaters who have been under-declaring their sales as a way of avoiding taxes.
How to register with EFRIS?
- Visit “https://efris.ura.go.ug/“
- Log in using your “TIN credentials”
- Add “required information” e.g, effective date
- Click “Submit”
You will need access to your TIN and password in order to do so. Once you click submit, you will receive an application approval email message in your TIN linked email address. You are ready to make transactions whether Business to Business (B2B), Business to Government (B2G), Business to Consumer (B2C), etc while issuing receipts.
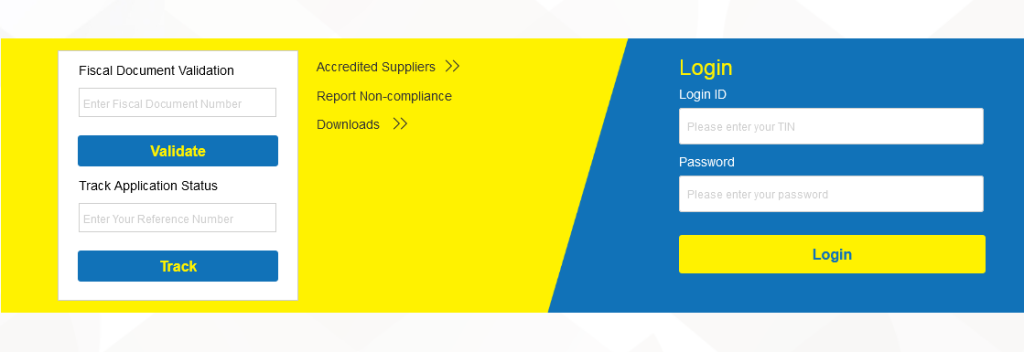
How to log into EFRIS?
- Visit “https://efris.ura.go.ug/“
- Log in using your “TIN credentials” (TIN & Password)
- Click ” Send OTP” using on email or phone
- Input received “OTP Code” and click “Login”
Please note that you can only receive your One Time Password (OTP) on your URA registered phone number, or email address. Clicking sends OTP code after choice selection means waiting for the code, which sometimes takes a few seconds depending on the network.
How to configure goods and services
- Hover or point mouse under “stock management”
- Click “Goods/service configuration”
- Click “Browse products” under the commodity category
- Type the “product” you want to add
- Navigate to your “choice” and select it
- Click “Add” and save
You have successfully configured your product or service. The next step is adding a stock of that particular product so you are able to issue e-invoices, e receipts, debit, and credit notes. Remember, this step requires you to add all product details as per choice including price, unit cost, product code, etc.
How to add stock?
- Hover or point mouse under “stock management”
- Click “Stock adjustment”
- Select “branch name” from drop-down
- Click “Add” to adjust stock
- Click “+Select” to choose the product you want to adjust
- Double click on the “product” to autofill details
- Type the product quantity under “adjust quantity”
- Fill in all other required information
- Click “Add” and save
Somewhere, you will be required to provide details of the seller from whom you bought the products including the amount. You can add their TIN Number for automatic filling, and or, simply add the name, etc. Wait, see how to declare URA stamp duty instrument online in case you missed the guide.
How to issue e Receipt
- Point cursor on “Fiscal document management”
- Click “Issue’
- Select “branch”
- Add “handling person” details
- Enter “buyer tin”
- Click “Next”
- Select the “product” you are selling
- Fill in all “other information”
- Click “Preview”
- Click “Generate e Receipt”
Once you are done, the 3 parties will get a copy of your e-receipt including you the provider/seller, the buyer/consumer, and URA. You can print and save it for reference. Somewhere on the above stage, you will be required to provide additional information about the mode of payment e.g, cash, EFT, Mobile money, etc, which you will be depending on your choice.
Disclaimer: What is shared above is for informational purposes only, and in no way does the above replace the exact how-to as indicated on Kakasa’s guides and tutorials.
If you are having trouble getting started with URA’s EFRIS solution, post a comment and I will be glad to help you where possible. You can also use the same form to give your feedback including additions.
Discover more from Thekonsulthub.com
Subscribe to get the latest posts sent to your email.