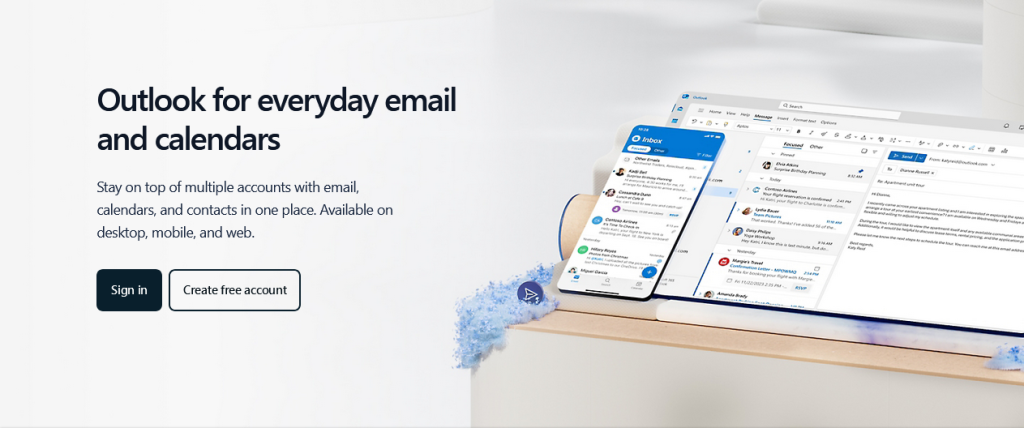
Adding a Gmail alias to Microsoft Outlook allows you to send or receive Gmail’s email messages from your Microsoft Outlook account, and a process that requires you to first configure your email settings. Configuring means setting up a Gmail alias to Microsoft Outlook, something which instantly allows you to achieve your goal.
And once you have successfully set up your Gmail alias to Microsoft Outlook, you are ready to receive, read, reply, compose, trash, and do anything you would have done in your google free email account through Microsoft Outlook 2016. The entire process of configuring the above is very simple, but only when you follow a set of instructions.
If you’ve been wondering how exactly to go about this, this tutorial will take you through the different step-by-step procedures which when followed, you will be able to access all your emails without accessing your Gmail interface but rather using Microsoft Outlook.
But before we get started, you have to make sure that you have enabled IMAP and POP3 options in your Gmail account are enabled. Follow the instructions below to enable IMAP and POP3.
How to enable IMAP and POP3 in Gmail
- Log into your Gmail account.
- Click Settings
- Click Forwarding and IMAP/POP
- Enable both IMAP Access, POP Download
- Save settings
Instructions to add Gmail Alias to Outlook 2016
IMAP Option
- Open Microsoft Outlook by clicking Start, All Programs, and Outlook Express.
- Open Tools, Accounts, Add, Mail, and wait for Pop Up box.
- Enter Display Name, click Next, enter your Gmail email address, and click Next.
- Select Incoming Mail server as IMAP and enter the below
Incoming Mail server : imap.gmail.com
Port:Por t: 993
Requires SSL :Yes
Outgoing Mail (SMTP) Serve : smtp.gmail.com
Port: 465 or 587
Requires SSL : Yes
Requires authentication : Yes
Use same settings as incoming mail server
- Enter your account name, Password and click Next to complete.
If you never saw the Port input options, click on Tools, Accounts, Mail, and Properties and enter the above as seen. You can then download all your emails from Gmail to your Outlook and begin the tour.
POP Option
- Follow steps 1 – 3 above, select POP3, and enter the below
Incoming mail (POP3 or IMAP) server : pop.gmail.com
Outgoing e-mail server (SMTP) name : smtp.gmail.com
Outgoing server requires authentication : enabled
- Click on Next, enter your Gmail email address, password and hit next.
- Select Don’t download my e-mail at this time on the pop up and click on Finish.
- Open Tools, Accounts, select the POP3 account you just configured and go to advanced settings.
- Enter 465 on Outgoing mail and click on OK.
You are done and will be able to read, views, send, reply and do everything using Microsoft Outlook like the same way you would do when logged in to your Gmail.
Discover more from Thekonsulthub.com
Subscribe to get the latest posts sent to your email.


